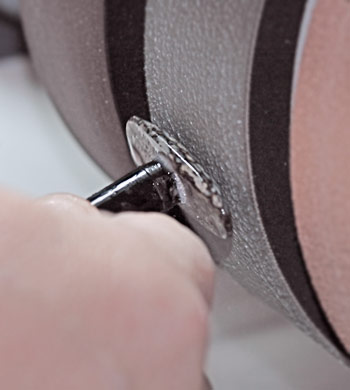
Step 8 -9 - Move on to the next wheel (1200) and work the stone again removing all visible scratches or until the stone has an even finish. This will produce a little more luster on the surface. When satisfied, move on the the 3000 grit wheel and repeat the process. With the 1200 wheel and the 3000 wheel only check the stone in the dry state, any water on the surface will hide any visible scratches at this point When the dry stone appears scratch free and has an even luster, you are ready to polish (or not!)
Some stones may have achieved enough polish at this stage to stop. Part of the final polish will be dependent upon your technique and skill up to this point. Some harder stones look very good after the 3000 stage and do not necessarily need a "final polish", this is for you to decide.
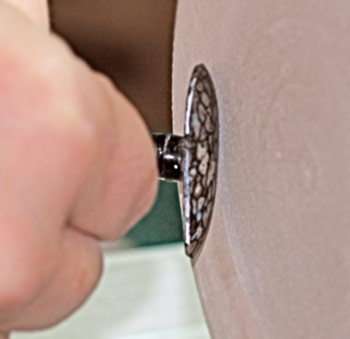
Step 10 - The final polish is carried out on a spin-n disk at the end of the Genie cabochon machine. Here a leather disk has been coated with a water slurry of cerium oxide. The stone is worked over the entire surface to apply the final polish. In reality this too is misnomer, the cerium oxide is not applied to he surface, but it actually causes micro-melting of the stone and there is a microscopic flow of the stones material to create the polish. Because of this a large amount of heat is often generated. This can be a problem with some stones or stones with internal flaws. The heat may cause Th. stone to crack or craze. This is why the final 3000 wet step is enough for some materials.
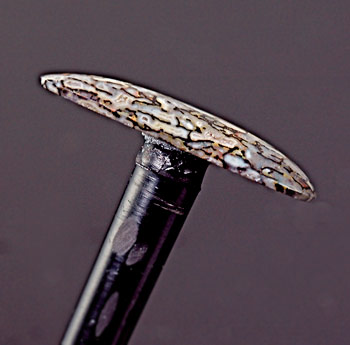
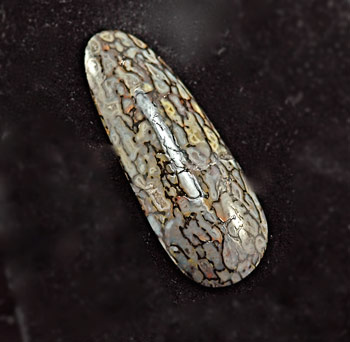
He is the finished stone after polish. This stone, a petrified dinosaur bone has an variable hardness on Th. surface and some areas have cut deeper than others. This leaves a polished but not quite level surface on the stone. The bone marrow cell structure tends to undercut slightly making the agate centers stand out.