Step by Step - continued 4
Place the Ultra Lap on a base lap and use the nut to tighten the two laps together. Use some water droplets on the surface of the lower metal lap to create a tighter fit.
(We've heard this before haven't we?)
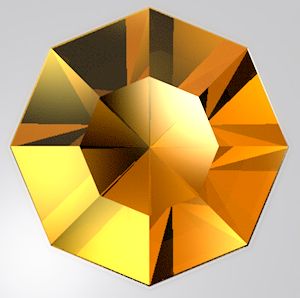
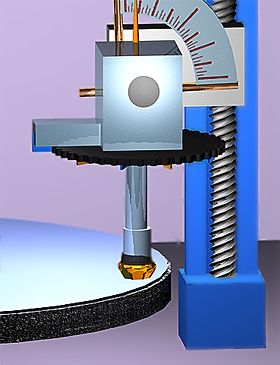
Clean everything carefully and reset the index gear to 96, then set the protractor to 90° and begin to polish the table facet. (The big one on top.) You are about to discover another of faceting's great truths, the bigger the facet is, the harder it is to get a perfect polish.
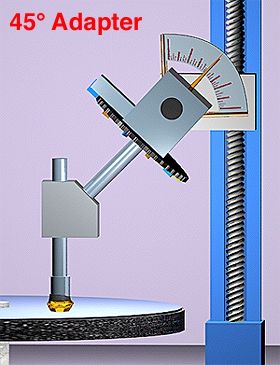
You might decide to use the 45°adapter and that's fine too. If you do decide to use the 45° adapter, then you may wish to polish the mains before doing this step. The machine will more likely be in better alignment to polish the mains before the DP is removed once and fitted to the adapter.
I usually polish at one index for a while. checking often to see if the surface has been polished. When I realise that it has not, I move the facet head up, and reindex the gear at a new position. Bring the head down and polish some more. I may follow this procedure a dozen times when working on the table facet. Each time the head is raised, I check the condition of the facet, then move it about 1/4 turn to a new index and begin again.
This is done with plenty of water flowing across the lap, and the lap at about 25% maximum speed. When I find all, but one or two small areas, has been polished well, then I raise the head, and turn off the lap. I begin to lower the head onto the stationary lap and rub the table back and forth. I may use the protractor and change the angle by one quarter degree, trying to get any portion of the table facet a little lower as needed.
Some machines may not have the ability to control to less than 1° but nearly all machines have something called a "cheater", the little wheel that lets you adjust the facet head slightly out of perpendicular. Use the cheater if necessary to get those last little scratches out. (Remember: reset the cheater to its neutral position before moving on to the next step.)
17.) Polish the crown mains.
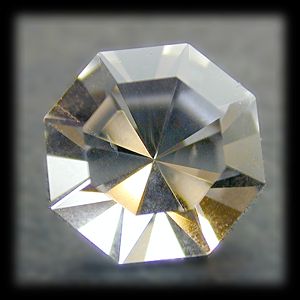
Once the table is polished, turn the index wheel to the starting index demarcation and polish each of the mains on the crown. Use the facet diagram to get the index positions and angles as needed. (There are only 8 facet mains on this stone so it should be pretty easy.)
Frankly if you have done a good job in the pre-polish step then this will take only a few seconds on each of the mains. If not, then you'll work a little longer.
If necessary use the stationary rubbing method described above to polish any problem areas.
18.) Remove stone from DOP and clean.
I usually use the same little torch to remove the stone from the remaining DOP. I wrap the stone in a WET paper town and heat the metal DOP until it pops off. Remember hold the stone in contact with WET towel, not just the DOP.
Clean stone with finger nail, acetone, methanol, soap & water, toothpick, or other wooden implements. Wood is much softer than quartz and very safe.