![]()


|
|
||||
|
|
||||
|
|
|
|||
|
Digital Photography -
Image Work UP |
||||||||
|
To finish the two images I would normally follow these steps. They again differ slightly depending on the final use for WEB or PRINT. |
||||||||
|
WEB |
|
|||||||
|
|
|
|||||||
|
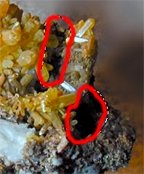
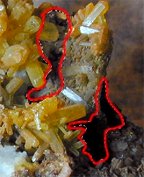
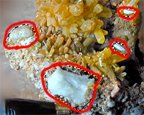
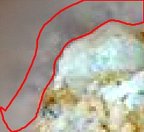
7.) On the WEB image I would use selective histogram adjustments to bring out more detail in the dark areas and to darken slightly any of the overly bright areas. First I would select the areas to be changed with the LASSO TOOL, then use a small FEATHER to help blend the changes, followed by the histogram adjustments. |
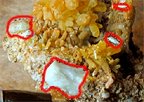
7.) On the PRINT image I would use the same sort of adjustments to bring out detail and lower bright highlights. |
|||||||
|
|
|||||||
|
|
|||||||
|
|
|||||||
|
Depending on the type of paper you are using in your printer, and the effect you desire, you may need to adjust the histogram of the whole image up or down to make a good print. What you see on the computer screen is not exactly what the printer will produce. The computer screen is an RGB device, and ink jet printers create color using CMYK (K is black). Practice with your printer will eventually give you the range needed for adjustment to produce acceptable prints. |
||||||||
 |
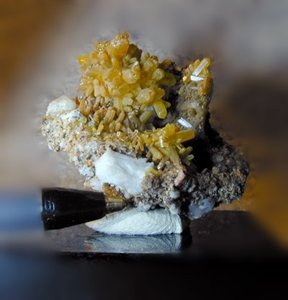
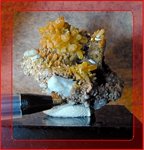
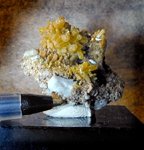
Here is the original image from the camera. 1600 x 1200 @ 72 DPI |
|
 |
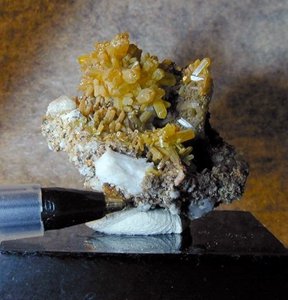
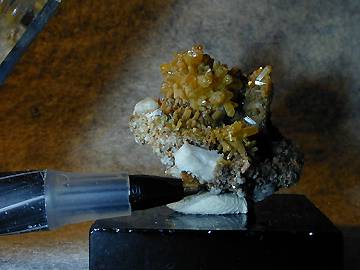
Here is the final image for WEB use 400 x 416 @ 72 DPI 29,261 bytes (28% reduction) |
|
|
|
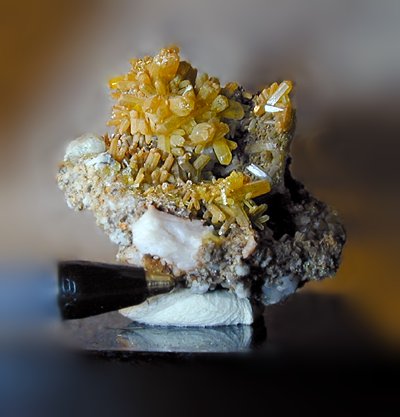
Here is the final image for PRINT use 400 x 416 @ 150 DPI 40,339 bytes |
|
|
|
|
|||